How to Make Custom Motorcycle Seats with Gel Cushions—Sounds Exciting, Right?
If you’re here, you’re probably looking for a way to make those long rides a little more comfortable or just want to add a personal touch to your bike.
Whether you’ve had your bike for years or just acquired it by buying a motorcycle from a private seller, DIY motorcycle seat customization with gel cushions is a fantastic way to add comfort, style, and support to every ride.
Gel cushions can make a huge difference.
They add that extra layer of support, helping reduce the fatigue that comes from long rides.
I’ll be here to guide you through every step, from gathering the right materials and tools to the actual process of customizing your seat.
Ready to get started? Let’s dive in and make your seat as comfortable and stylish as possible.”
Why Make Custom Motorcycle Seats with Gel Cushions?

Alright, before we jump into making your custom motorcycle seat with gel cushion inserts, let’s quickly look at why gel cushions are so effective.
Gel cushions are great at absorbing shock and distributing your weight evenly, which means less strain on your body during those long rides.
They also reduce vibration, making for a smoother, more comfortable experience.
Many riders enjoy modifying their bikes to suit their personal preferences—whether it’s adding comfort to the seat or choosing to remove baffles from motorcycle exhaust for a deeper, more aggressive sound.
So, if you want a ride that feels both comfortable and supportive, adding a gel cushion to your seat is the way to go.
Customizing your seat with gel and foam padding can also make it more unique, giving your motorcycle a personal touch that stands out.
Materials You’ll Need for Custom Motorcycle Seats with Gel Cushions
Getting the right materials will make the process smooth and the result high-quality.
Here’s what you’ll need to make a custom motorcycle seat with gel cushion seat installation.
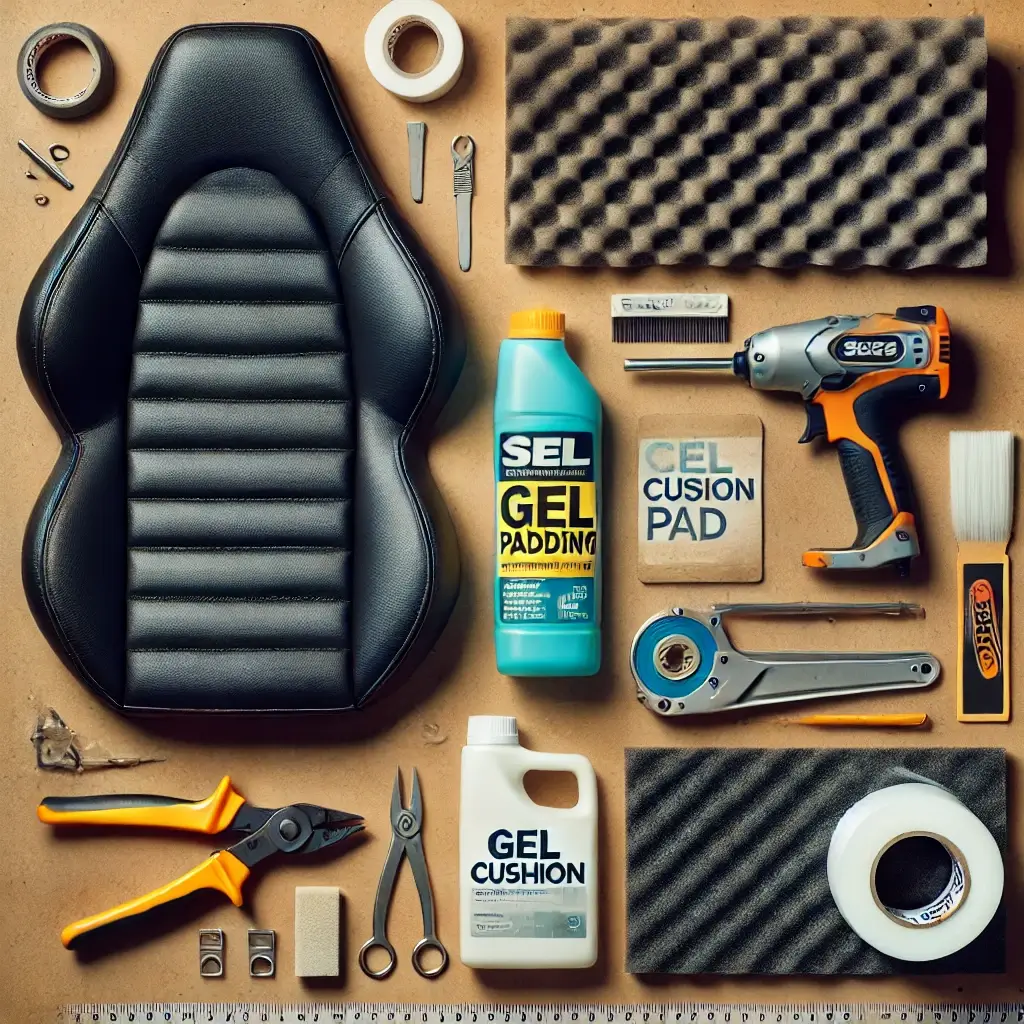
When selecting materials for your seat, consider both durability and comfort.
For additional ideas, these tips for a more comfortable motorcycle seat can help you create a seat that supports you on longer rides.
- Gel cushion pad – This is your main comfort layer. Choose one that’s designed specifically for motorcycle seats for durability.
- Foam padding – Adds an extra layer beneath the gel to provide better support and distribute weight.
- Leather or vinyl seat cover – This gives your seat a durable, stylish finish.
- Heavy-duty adhesive – Used to secure the gel and foam layers in place.
- Staple gun – Essential for securing the new cover to the seat base.
Pro Tip: Choose a seat cover material that is both weather-resistant and comfortable. Leather and vinyl are excellent choices—they’ll hold up well over time and look great on your bike.
Tools Required for Custom Motorcycle Seats with Gel Cushions
Before starting your DIY guide to motorcycle seat upgrades, make sure you have these tools on hand.
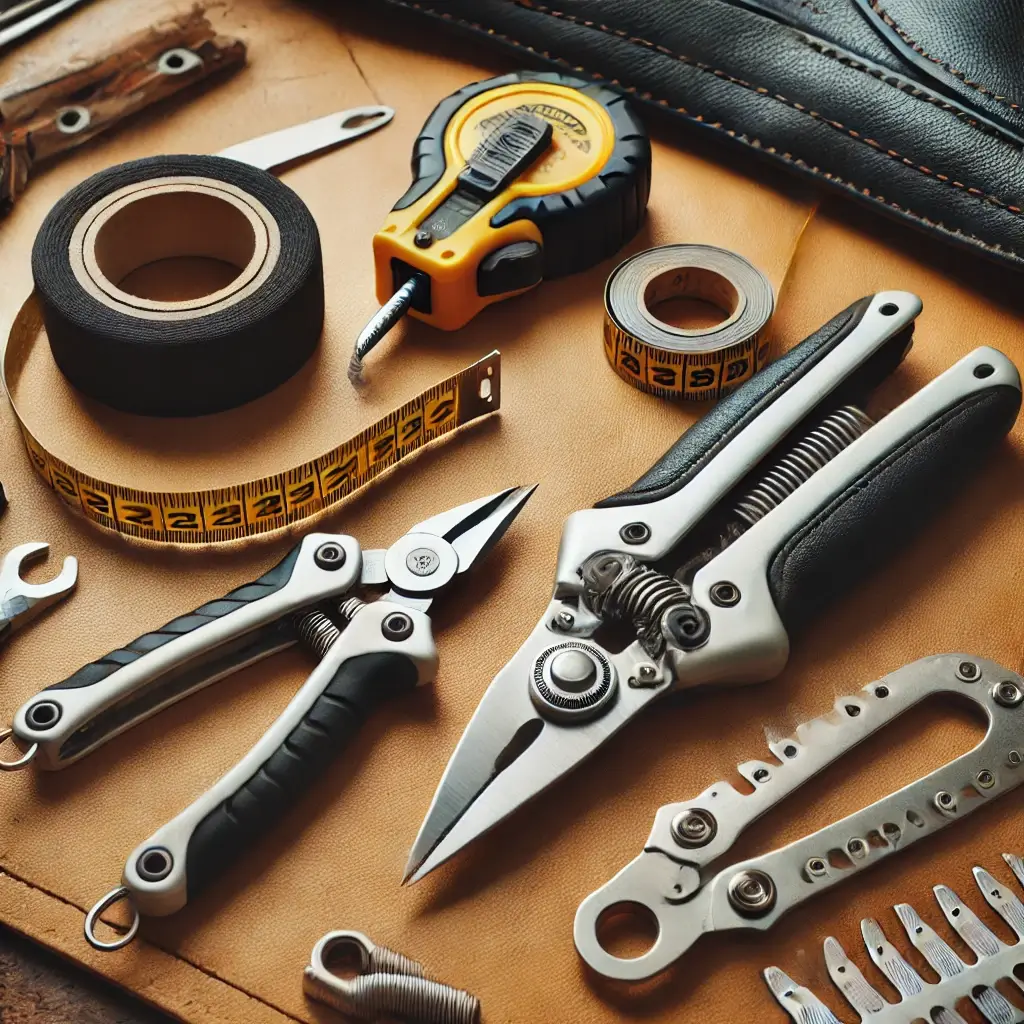
- Utility knife – For cutting foam and gel padding to the exact shape of your seat
- Measuring tape – To get precise measurements for the gel and foam layers
- Staple remover – Helps in taking off the old seat cover without damaging the seat base
- Safety gloves and goggles – Protects your hands and eyes as you work with tools and sharp objects
Step-by-Step Guide to Creating Custom Motorcycle Seats with Gel Cushions
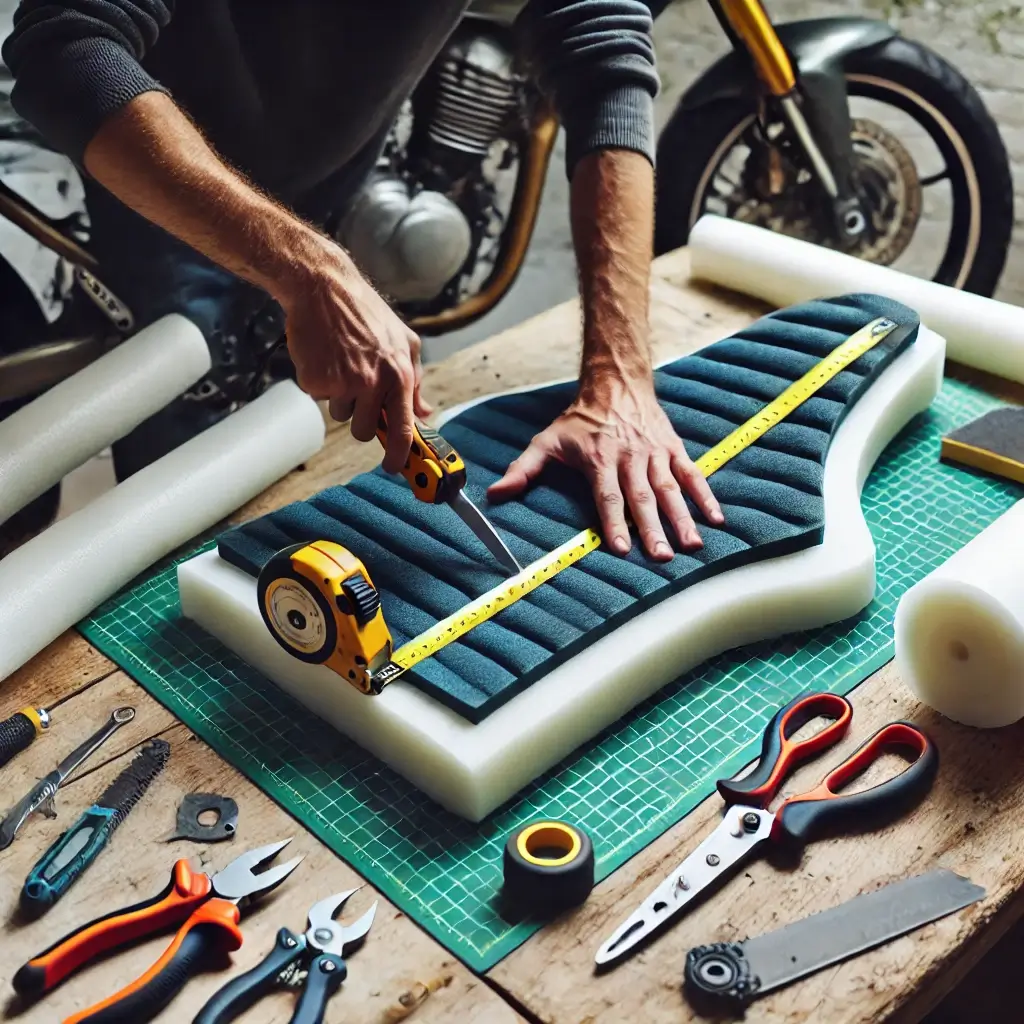
Here’s where we get into the details of motorcycle seat modification.
Follow these steps to add a gel cushion to your motorcycle seat, making it both comfortable and unique.
Step 1: Remove the Existing Seat
Begin by carefully detaching the seat from your motorcycle.
This process will vary slightly depending on your bike model, but typically, you’ll need to use a wrench or screwdriver to unscrew bolts that secure the seat in place.
As you remove each bolt or screw, place it in a small container or labeled bag to ensure they don’t get lost.
This will make it easier to rearrange later.
Once all fasteners are removed, gently lift the seat off, being careful not to damage any wiring or connectors underneath, as some motorcycle seats have wiring for electronics embedded within the seat.
Step 2: Take Off the Original Cover and Foam
With the seat removed, place it on a flat, stable surface for easier handling.
Using a staple remover or a flathead screwdriver, carefully pry out each staple holding the original cover in place.
Be patient during this process, as pulling too hard can damage the seat base.
Once the staples are out, peel back the seat cover slowly to reveal the foam underneath.
Next, remove the foam layer by gently peeling or prying it off. Some foam may be glued down, so use a utility knife if needed to loosen any adhered areas.
Keep the seat base intact, as you’ll need it as the foundation for your custom setup.
step 3: Cut the Gel Pad and Foam
To ensure a snug and comfortable fit, it’s crucial to cut the gel pad and foam layers precisely to the shape of your seat.
Start by measuring the length and width of the seat base with a measuring tape, marking these dimensions on both the foam padding and gel pad.
Carefully cut each layer to size using a utility knife or sharp scissors.
For curved or irregular seat shapes, you may need to trim and test fit each piece to achieve an exact fit.
The gel pad should be centered, as it’s responsible for the main comfort and support; a well-fitted gel insert distributes weight evenly and minimizes pressure points during your ride.
Step 4: Layer the Gel and Foam
Before assembling, apply a layer of heavy-duty adhesive to the seat base.
Place the foam padding directly onto the adhesive, pressing down firmly to ensure it sticks.
Once the foam is secure, apply another layer of adhesive to its surface and carefully position the gel pad on top.
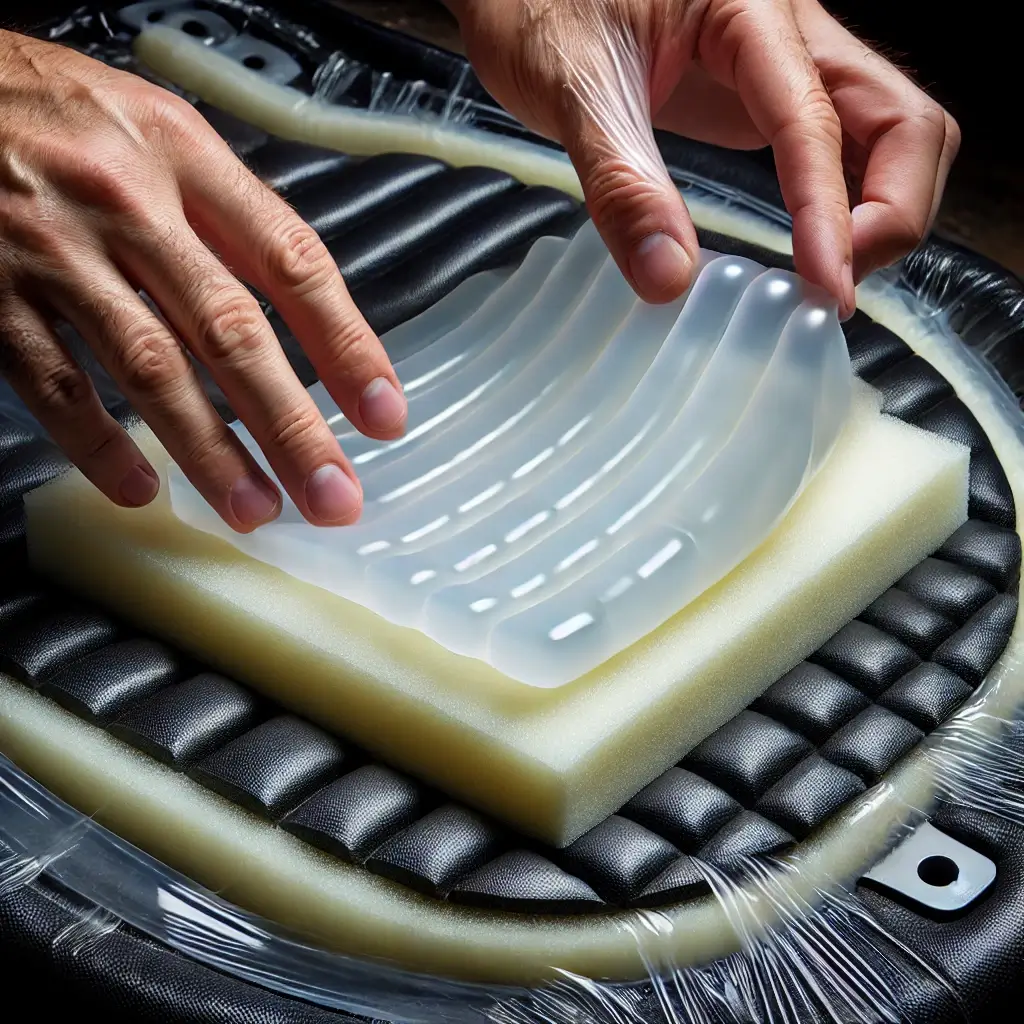
Make sure the gel cushion is centered, as this will provide balanced support.
Allow the adhesive to dry according to the manufacturer’s instructions.
Taking time to align the gel pad ensures it won’t shift during use, which could affect comfort and stability.
Step 5: Secure the New Seat Cover
Once the gel and foam layers are securely in place, it’s time to attach the new cover.
Position your chosen seat cover material over the gel and foam, pulling it taut to prevent any wrinkles or loose areas.
Starting from the center of each side, staple the cover to the underside of the seat base, working outward toward the corners. This method ensures an even, secure fit.
If you encounter wrinkles, gently stretch the material and staple it again to smooth it out. Use a staple gun to drive staples in firmly and evenly around the entire seat edge.
This process will create a snug fit that holds up well over time and won’t loosen easily.
Step 6: Reattach the Seat to Your Motorcycle
With the new cover in place, you’re ready to reinstall the seat.
Align the seat with its mounting position on your motorcycle, making sure any wiring connections (if applicable) are properly aligned and tucked away.
Secure the seat by inserting each bolt and tightening them carefully with your wrench or screwdriver.
Double-check each bolt to ensure they are snug and secure, as a loose seat can affect stability and safety.
Once everything is firmly in place, give the seat a gentle test push to confirm that it’s secure and ready for the road.
Quick Summary
To make a custom motorcycle seat with a gel cushion, first remove the original seat cover and foam, cut the gel pad and foam to fit, layer them on the seat base, and secure a new cover over it with a staple gun. This upgrade not only enhances comfort but also adds a personal touch to your bike.
Tips for Better Results with Custom Motorcycle Seats with Gel Cushions
To make sure your new seat lasts, select a high-quality, weather-resistant cover material that complements your bike’s look.
Leather or vinyl are excellent options, as they’re durable and stylish.
Be sure to staple the cover tightly without over-stretching it, as this can cause tearing.
Choosing the right seat cover material for durability is crucial for long-lasting results.
Lastly, double-check that the gel pad is properly centered, as it will make a big difference in comfort and support, especially on long rides.
Maintenance Tips for Your New Custom Seat
Keeping your seat in great shape is easy with a few maintenance steps.
Regularly wipe down the seat cover to keep dust and grime from settling into the material.
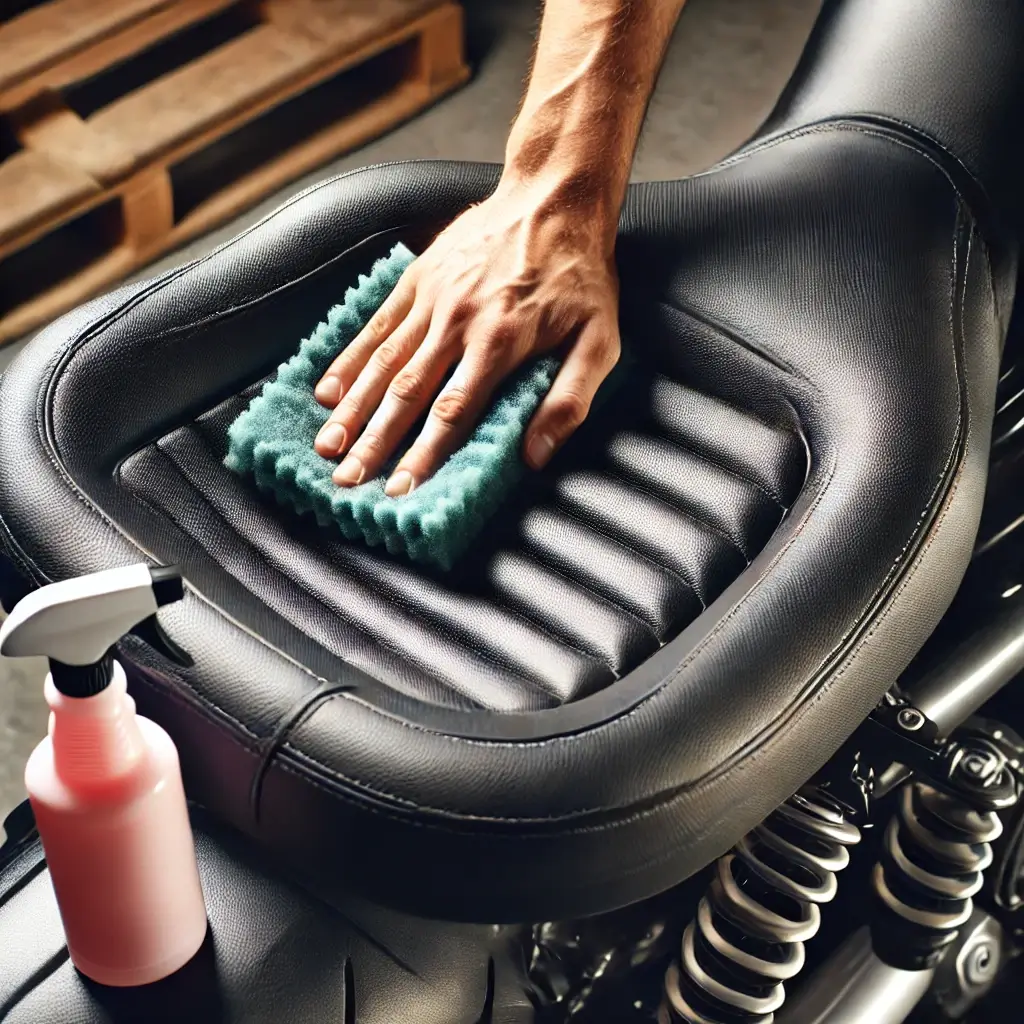
Use a leather or vinyl cleaner, depending on your cover choice, to prevent cracking and fading over time.
Try to avoid leaving your bike in direct sunlight for long periods, as excessive heat can impact the gel cushion’s texture.
Finally, check the staples every few months to make sure none have loosened.
Quick Summary for Maintenance
To maintain a custom motorcycle seat with gel cushions, regularly clean it with appropriate cleaners, keep it out of direct sunlight, and inspect the cover and staples periodically.
This maintenance will help keep your seat durable and comfortable for years.
Conclusion
And there you have it—everything you need to know about how to make custom motorcycle seats with gel cushions.
Not only does a custom seat improve comfort, but it also gives your bike a unique, personal touch.
With a gel cushion, you’ll enjoy a smoother, more comfortable ride that’s built to last.
So go ahead, hit the road, and enjoy every mile with the added comfort of your custom seat!

